Mini Red Velvet Heart Cakes
Highlighted under: Baking Favorites
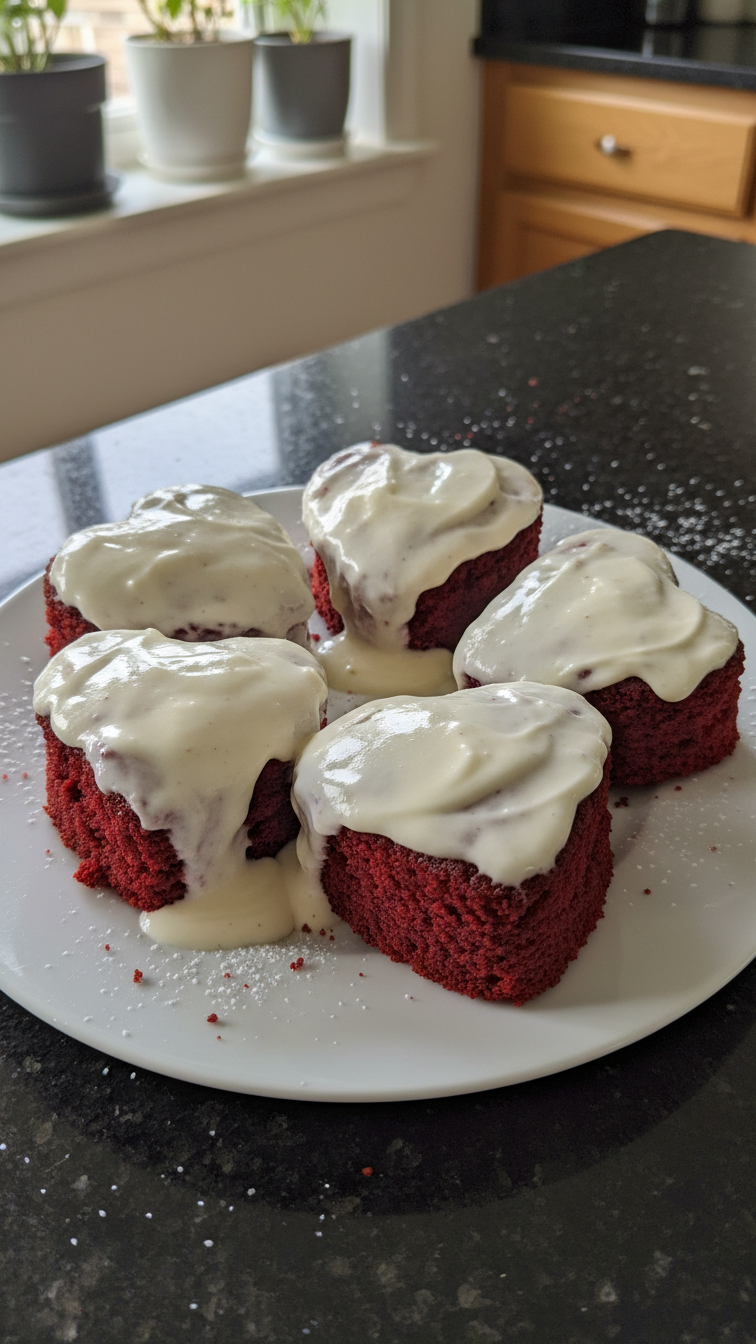
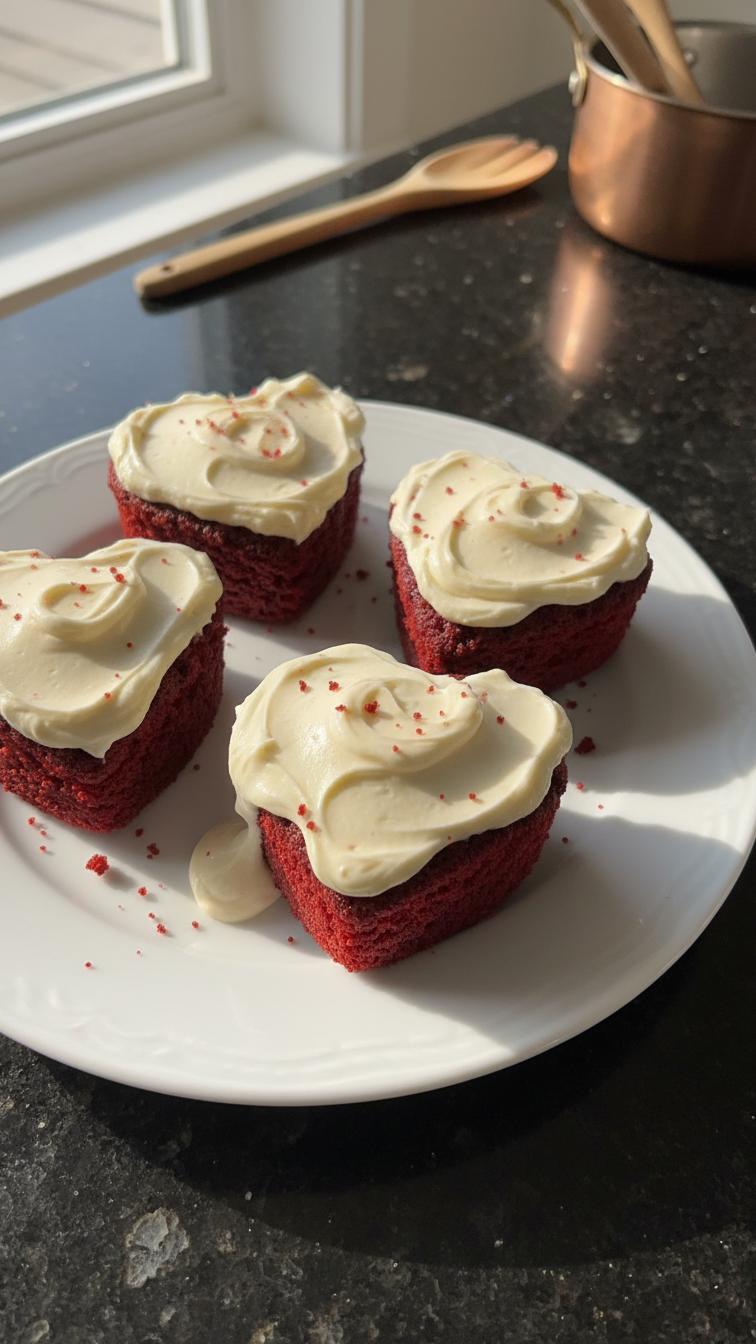
I love making these Mini Red Velvet Heart Cakes for special occasions. The vibrant red color and cream cheese frosting create a delightful treat that is both visually appealing and scrumptiously tasty. Each bite is moist and filled with flavor, making them perfect for celebrations or as a sweet indulgence. The heart shape adds a personal touch, perfect for impressing that special someone. Plus, they’re surprisingly easy to whip up, allowing me to spend more time enjoying the company instead of being stuck in the kitchen.
When I first tried making red velvet cake, I was enchanted by its rich color and unique flavor. I decided to take it to the next level by creating these mini heart cakes, perfect for Valentine's Day or anniversaries. The secret to their moist texture is buttermilk, which makes all the difference. I experimented with different frostings and found that cream cheese is the perfect complement, balancing the sweetness beautifully.
Each cake is made using a simple method that highlights the red velvet flavor without requiring elaborate techniques. I recommend using a heart-shaped cake pan for the best presentation. I once made these for a gathering, and they disappeared in minutes. Trust me, they will steal the show at your next event!
Why You'll Love These
- Decadent red velvet flavor with a creamy frosting that delights the palate
- The charming heart shape makes them perfect for romantic occasions
- Easy to prepare, so you can focus on sharing joy with loved ones
Baking Technique Tips
When preparing your Mini Red Velvet Heart Cakes, using room temperature ingredients is crucial. This ensures that the batter comes together smoothly, resulting in a uniform texture. Allowing the buttermilk and egg to warm up for about 30 minutes before mixing can significantly enhance the final product. Additionally, make sure to sift the dry ingredients to eliminate any lumps and to properly aerate the flour, which contributes to a tender cake.
Another essential tip is to avoid overmixing the batter once you've combined the wet and dry ingredients. Overmixing can lead to a dense cake rather than the light, airy texture you want. Mix just until you see no flour streaks; some small lumps are perfectly fine. This gentle approach will give the cakes that delightful moistness that is characteristic of red velvet.
Flavor and Texture Insights
The combination of cocoa powder and red food coloring in red velvet cake brings about a unique flavor experience. The cocoa powder adds a subtle depth to the flavor without overpowering the classic vanilla notes. If you’re looking to adjust the recipe for a more intense chocolate taste, consider adding an extra teaspoon of cocoa making sure to balance with a bit more sugar in the batter as needed.
For those who prefer a less sweet cake, reducing the amount of sugar slightly can enhance the cocoa flavor. Just be cautious not to reduce it significantly, as sugar also affects the moisture level in the cake. The final texture should be soft and moist with a slight crumb, providing the perfect base for the rich cream cheese frosting.
Ingredients
Gather the following ingredients to create these delightful Mini Red Velvet Heart Cakes.
For the Cakes
- 1 ½ cups all-purpose flour
- 1 cup granulated sugar
- 1 tsp baking soda
- 1 tsp cocoa powder
- ¾ cup vegetable oil
- 1 cup buttermilk, room temperature
- 1 large egg, room temperature
- 1 tsp vanilla extract
- 2 tbsp red food coloring
- ½ tsp salt
For the Cream Cheese Frosting
- 8 oz cream cheese, softened
- ¼ cup unsalted butter, softened
- 2 cups powdered sugar
- 1 tsp vanilla extract
Once you have all your ingredients ready, let's move on to the steps!
Instructions
Follow these steps to create your Mini Red Velvet Heart Cakes.
Prepare the Batter
Preheat your oven to 350°F (175°C) and grease your heart-shaped cake pan. In a mixing bowl, sift together the flour, baking soda, cocoa powder, and salt. In another bowl, whisk together the sugar, oil, buttermilk, egg, vanilla, and food coloring until smooth. Gradually add the dry ingredients to the wet ingredients, stirring until just combined.
Bake the Cakes
Pour the batter evenly into the prepared pan. Bake for about 15 minutes or until a toothpick inserted comes out clean. Let the cakes cool in the pan for 10 minutes before transferring them to a wire rack to cool completely.
Make the Frosting
In a mixing bowl, beat the cream cheese and butter together until creamy. Gradually add powdered sugar and vanilla extract, mixing until smooth and fluffy.
Assemble the Cakes
Once the cakes are cool, carefully remove them from the pan. Frost the tops of the cakes with the cream cheese frosting. Optionally, decorate with sprinkles or edible glitter for a festive touch.
Enjoy your beautiful and delicious Mini Red Velvet Heart Cakes!
Pro Tips
- For even more flavor, try adding a hint of cinnamon or using flavored extracts in the frosting.
Make-Ahead and Storage
These Mini Red Velvet Heart Cakes can easily be made ahead of time, which is perfect for busy occasions. Once cooled completely, you can wrap each cake in plastic wrap and store them in the refrigerator for up to 3 days. If you want to freeze them, it's best to frost them after thawing to maintain the texture of the frosting. They can be frozen for up to a month if tightly wrapped.
When you’re ready to serve, simply remove the cakes from the fridge or freezer and frost them with the cream cheese frosting. If they’re frozen, let them sit at room temperature for about 30 minutes. This not only helps the cake thaw but also makes the frosting easier to spread.
Variations and Decorations
To switch things up, consider adding a hint of almond extract to the frosting for a delightful twist. Almond complements the vanilla in the frosting beautifully and adds an interesting flavor dimension. You could also substitute half of the cream cheese with mascarpone cheese for a lighter taste that still holds its frosting structure.
For a decorative touch, you might want to top the frosted cakes with a sprinkle of crushed pecans or walnuts, which adds both flavor and texture. Edible flowers or fresh berries also give a vibrant color contrast that makes the cakes even more visually appealing. Experimenting with these variations can make your Mini Red Velvet Heart Cakes uniquely yours!
Questions About Recipes
→ Can I make these cakes ahead of time?
Yes, you can bake the cakes ahead of time and store them in the refrigerator for up to 2 days before frosting.
→ Can I use a different frosting?
Absolutely! Chocolate ganache or vanilla buttercream can also work wonderfully with red velvet.
→ Is buttermilk necessary?
Using buttermilk is highly recommended for the best moistness and flavor, but you can substitute it with milk mixed with a dash of vinegar.
→ How should I store the cakes?
Store the frosted cakes in an airtight container in the refrigerator for up to 4 days.
Mini Red Velvet Heart Cakes
Created by: The Kitchenmorsel Team
Recipe Type: Baking Favorites
Skill Level: Beginner
Final Quantity: 12 cakes
What You'll Need
For the Cakes
- 1 ½ cups all-purpose flour
- 1 cup granulated sugar
- 1 tsp baking soda
- 1 tsp cocoa powder
- ¾ cup vegetable oil
- 1 cup buttermilk, room temperature
- 1 large egg, room temperature
- 1 tsp vanilla extract
- 2 tbsp red food coloring
- ½ tsp salt
For the Cream Cheese Frosting
- 8 oz cream cheese, softened
- ¼ cup unsalted butter, softened
- 2 cups powdered sugar
- 1 tsp vanilla extract
How-To Steps
Preheat your oven to 350°F (175°C) and grease your heart-shaped cake pan. In a mixing bowl, sift together the flour, baking soda, cocoa powder, and salt. In another bowl, whisk together the sugar, oil, buttermilk, egg, vanilla, and food coloring until smooth. Gradually add the dry ingredients to the wet ingredients, stirring until just combined.
Pour the batter evenly into the prepared pan. Bake for about 15 minutes or until a toothpick inserted comes out clean. Let the cakes cool in the pan for 10 minutes before transferring them to a wire rack to cool completely.
In a mixing bowl, beat the cream cheese and butter together until creamy. Gradually add powdered sugar and vanilla extract, mixing until smooth and fluffy.
Once the cakes are cool, carefully remove them from the pan. Frost the tops of the cakes with the cream cheese frosting. Optionally, decorate with sprinkles or edible glitter for a festive touch.
Extra Tips
- For even more flavor, try adding a hint of cinnamon or using flavored extracts in the frosting.
Nutritional Breakdown (Per Serving)
- Calories: 380 kcal
- Total Fat: 26g
- Saturated Fat: 15g
- Cholesterol: 195mg
- Sodium: 85mg
- Total Carbohydrates: 32g
- Dietary Fiber: 3g
- Sugars: 24g
- Protein: 6g